[Unity/유니티] 기초-물리 퍼즐게임: 프리펩으로 다양한 동글 생성하기[B55]
개요
유니티 입문과 독학을 위해서 아래 링크의 골드메탈님의 영상들을 보며 진행 상황 사진 또는 캡처를 올리고 배웠던 점을 요약해서 적는다.
현재는 영상들을 보고 따라하고 배우는 것에 집중할 것이며, 영상을 모두 보고 따라한 후에는 개인 프로젝트를 설계하고 직접 만드는 것이 목표다.
https://youtube.com/playlist?list=PLO-mt5Iu5TeYI4dbYwWP8JqZMC9iuUIW2
유니티 강좌 기초 채널 Basic
유니티 개발을 처음 시작하시는 입문자 분들을 위한 기초 채널. [ 프로젝트 ] B00 ~ B12 (BE1) : 유니티 필수 기초 B13 ~ B19 (BE2) : 2D 플랫포머 B20 ~ B26 (BE3) : 2D 탑다운 대화형 RPG B27 ~ B37 (BE4) : 2D 종스크롤
www.youtube.com
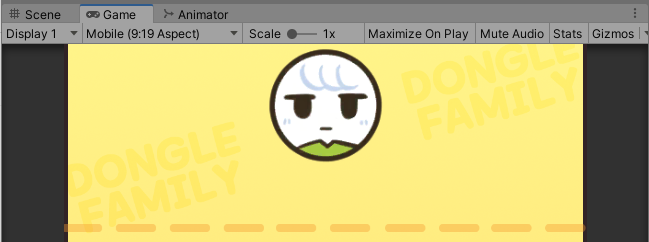
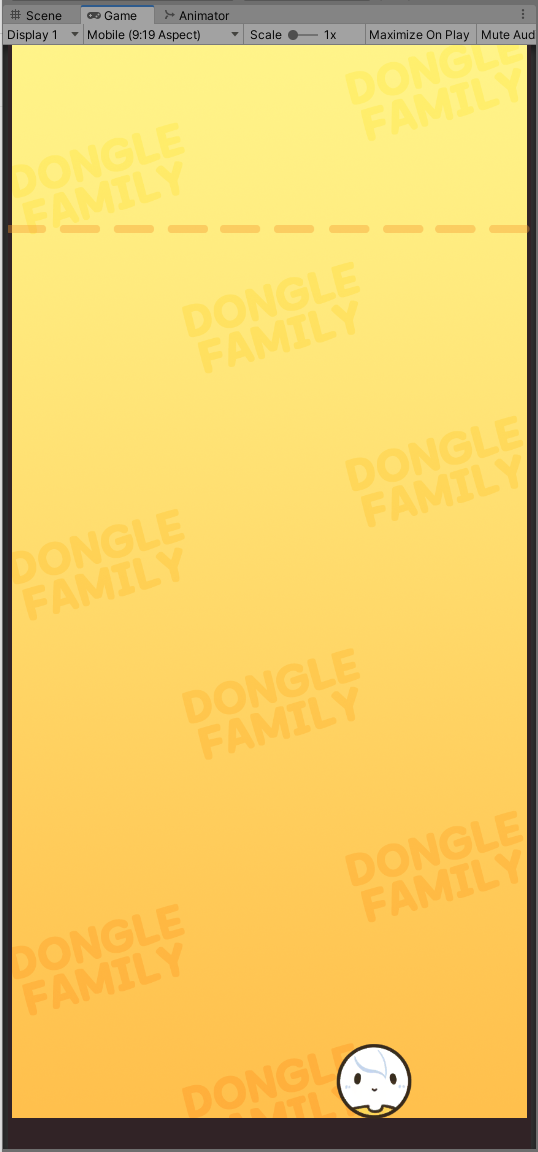
물리 퍼즐게임: 프리펩으로 다양한 동글 생성하기[B55]
1. 게임 매니저


//GameManager 스크립트 파일

using System.Collections;
using System.Collections.Generic;
using UnityEngine;

public class GameManager : MonoBehaviour {
	public Dongle lastDongle;

	public void TouchDown() {
		lastDongle.Drag();
	}

	public void TouchUp() {
		lastDongle.Drop();
	}
}

2. 동글 생성

//GameManager 스크립트 파일

using System.Collections;
using System.Collections.Generic;
using UnityEngine;

public class GameManager : MonoBehaviour {
	public Dongle lastDongle;
	public GameObject donglePrefab;
	public Transform dongleGroup;

	void Start() {
		NextDongle();
	}

	Dongle GetDongle() {
		GameObject instant = Instantiate(donglePrefab, dongleGroup);
		Dongle instantDongle = instant.GetComponent<Dongle>();

		return instantDongle;
	}

	void NextDongle() {
		Dongle newDongle = GetDongle();
		lastDongle = newDongle;
	}

	public void TouchDown() {
		if (lastDongle == null)
			return;

		lastDongle.Drag();
	}

	public void TouchUp() {
		if (lastDongle == null)
			return;

		lastDongle.Drop();
		lastDongle = null;	//드랍 후 조종 불가로 만들기
	}
}


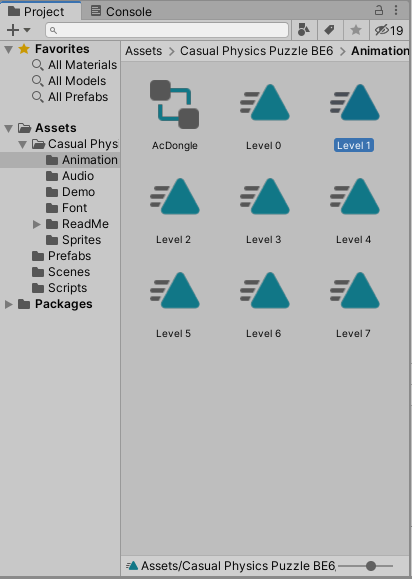
3. 다양한 레벨
//GameManager 스크립트 파일

using System.Collections;
using System.Collections.Generic;
using UnityEngine;

public class GameManager : MonoBehaviour {
	public Dongle lastDongle;
	public GameObject donglePrefab;
	public Transform dongleGroup;

	void Start() {
		NextDongle();
	}

	Dongle GetDongle() {
		GameObject instant = Instantiate(donglePrefab, dongleGroup);
		Dongle instantDongle = instant.GetComponent<Dongle>();

		return instantDongle;
	}

	void NextDongle() {
		Dongle newDongle = GetDongle();
		lastDongle = newDongle;

		StartCoroutine(WaitNext());
	}

	IEnumerator WaitNext() {
		while (lastDongle != null) {
			yield return null;
		}

		yield return new WaitForSeconds(2.5f);

		NextDongle();
	}

	public void TouchDown() {
		if (lastDongle == null)
			return;

		lastDongle.Drag();
	}

	public void TouchUp() {
		if (lastDongle == null)
			return;

		lastDongle.Drop();
		lastDongle = null;	//드랍 후 조종 불가로 만들기
	}
}- 앞의 파트에서 동글 프리펩으로 동글을 생성했으니 이를 코루틴으로 반복해서 계속 생성되도록 만들었다.


4. 프레임 설정과 물리 보정


//Dongle 스크립트 파일

using System.Collections;
using System.Collections.Generic;
using UnityEngine;

public class Dongle : MonoBehaviour {
	public int level;
	public bool isDrag;
	Rigidbody2D rigid;
	Animator anim;

	void Awake() {
		rigid = GetComponent<Rigidbody2D>();
		anim = GetComponent<Animator>();
	}

	void OnEnable() {
		anim.SetInteger("Level", level);
	}

	void Update() {
		if (isDrag) {
			Vector3 mousePos = Camera.main.ScreenToWorldPoint(Input.mousePosition);
			float leftBorder = -4.2f + transform.localScale.x / 2f; //좌측 벽 경계 설정
			float rightBorder = 4.2f - transform.localScale.x / 2f; //우측 벽 경계 설정

			if (mousePos.x < leftBorder) {  //벽에 x축 접근 제한
				mousePos.x = leftBorder;
			}
			else if (mousePos.x > rightBorder) {
				mousePos.x = rightBorder;
			}

			mousePos.y = 8; //Y축 고정해서 경계선 밑으로 내려가지 않도록 설정
			mousePos.z = 0; //Z축 고정해서 맵 밖으로 나가지 않도록 설정
			transform.position = Vector3.Lerp(transform.position, mousePos, 0.2f);
		}

	}

	public void Drag() {
		isDrag = true;
	}

	public void Drop() {
		isDrag = false;
		rigid.simulated = true;
	}
}
//GameManager 스크립트 파일
using System.Collections;
using System.Collections.Generic;
using UnityEngine;
public class GameManager : MonoBehaviour {
public Dongle lastDongle;
public GameObject donglePrefab;
public Transform dongleGroup;
void Awake() {
Application.targetFrameRate = 60; //60프레임 이하로 유지
}
void Start() {
NextDongle();
}
Dongle GetDongle() {
GameObject instant = Instantiate(donglePrefab, dongleGroup);
Dongle instantDongle = instant.GetComponent<Dongle>();
return instantDongle;
}
void NextDongle() {
Dongle newDongle = GetDongle();
lastDongle = newDongle;
lastDongle.level = Random.Range(0, 8);
lastDongle.gameObject.SetActive(true);
StartCoroutine(WaitNext());
}
IEnumerator WaitNext() {
while (lastDongle != null) {
yield return null;
}
yield return new WaitForSeconds(2.5f);
NextDongle();
}
public void TouchDown() {
if (lastDongle == null)
return;
lastDongle.Drag();
}
public void TouchUp() {
if (lastDongle == null)
return;
lastDongle.Drop();
lastDongle = null; //드랍 후 조종 불가로 만들기
}
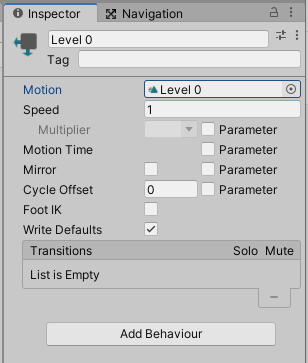
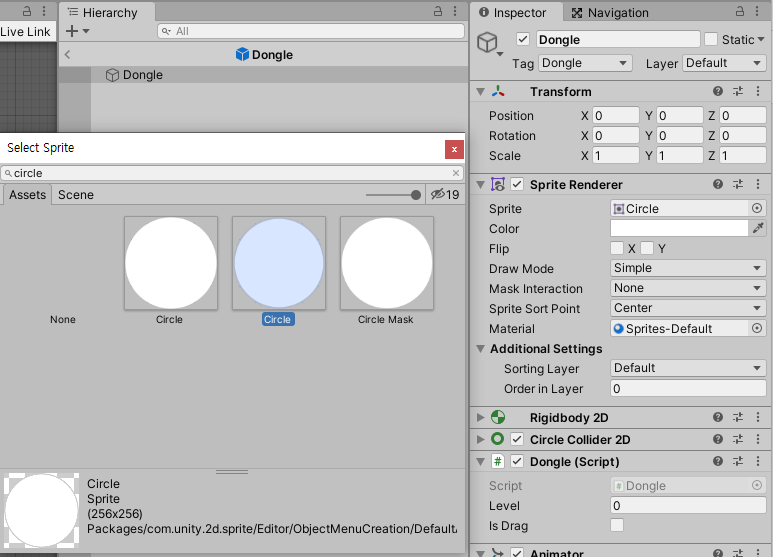
}- Dongle 스크립트 파일에서는 애니메이션과 연결해주었고, 매개변수 Level의 값을 전달해주도록 추가했다. GameManager 스크립트 파일에서는 tagetFrameRate로 프레임을 관리해주고, Dongle의 레벨을 0~7까지 랜덤하게 지정해서 동글을 활성화해준다.
- Application.targetFrameRate : 프레임(FPS) 설정 속성

- Interpolate : 이전 프레임을 비교하여 움직임을 부드럽게 보정해준다